Wednesday, December 20, 2023

Stripping the paint off and refinishing a craftsman-style fir front door

The front door on my house has some nice craftsman detail to it. But since I've had the house, it's always been painted and that paint was wearing off after 15 years. Being in Oregon, I'd always suspected that there was some nice Douglas Fir underneath that paint. In April and May 2020, the pandemic provided the opportunity to take on the task of refinishing the door.


I decided that I would try stripping it with non-toxic paint stripper. This required moving the door to work on it so the first challenge was to find some way to close off the doorway and keep the house secure. I did this with spare piece of plywood and a four pipe clamps that stuck through some holes I drilled and then tensioned against 2X4s in the inside. Somehow the boarded up look seemed fitting in the first weeks of the pandemic.

I'd watched a few videos on stripping paint using Smart Strip. So I got some of this and the paper that they sell to go on top of it to keep it from drying out. I also bought some plastic brushes and rigid plastic scrapers. It being an exterior surface on an old house, there was certainly lead paint in there so the lack of dust with stripping approach appealed.

I globbed the stripper on with a disposable paint brush, put on the paper, and waited a day or so. I was expecting it to be a sort of satisfying process where the stripper did its work and then magically the many layers of old paint just scraped right off to reveal beautiful wood grain. That sort-of happened in some areas. But mostly it was a very messy, methodical process of scraping and brushing. I did it in my driveway to contain the mess. To some extent, the cool spring weather slowed the process.  


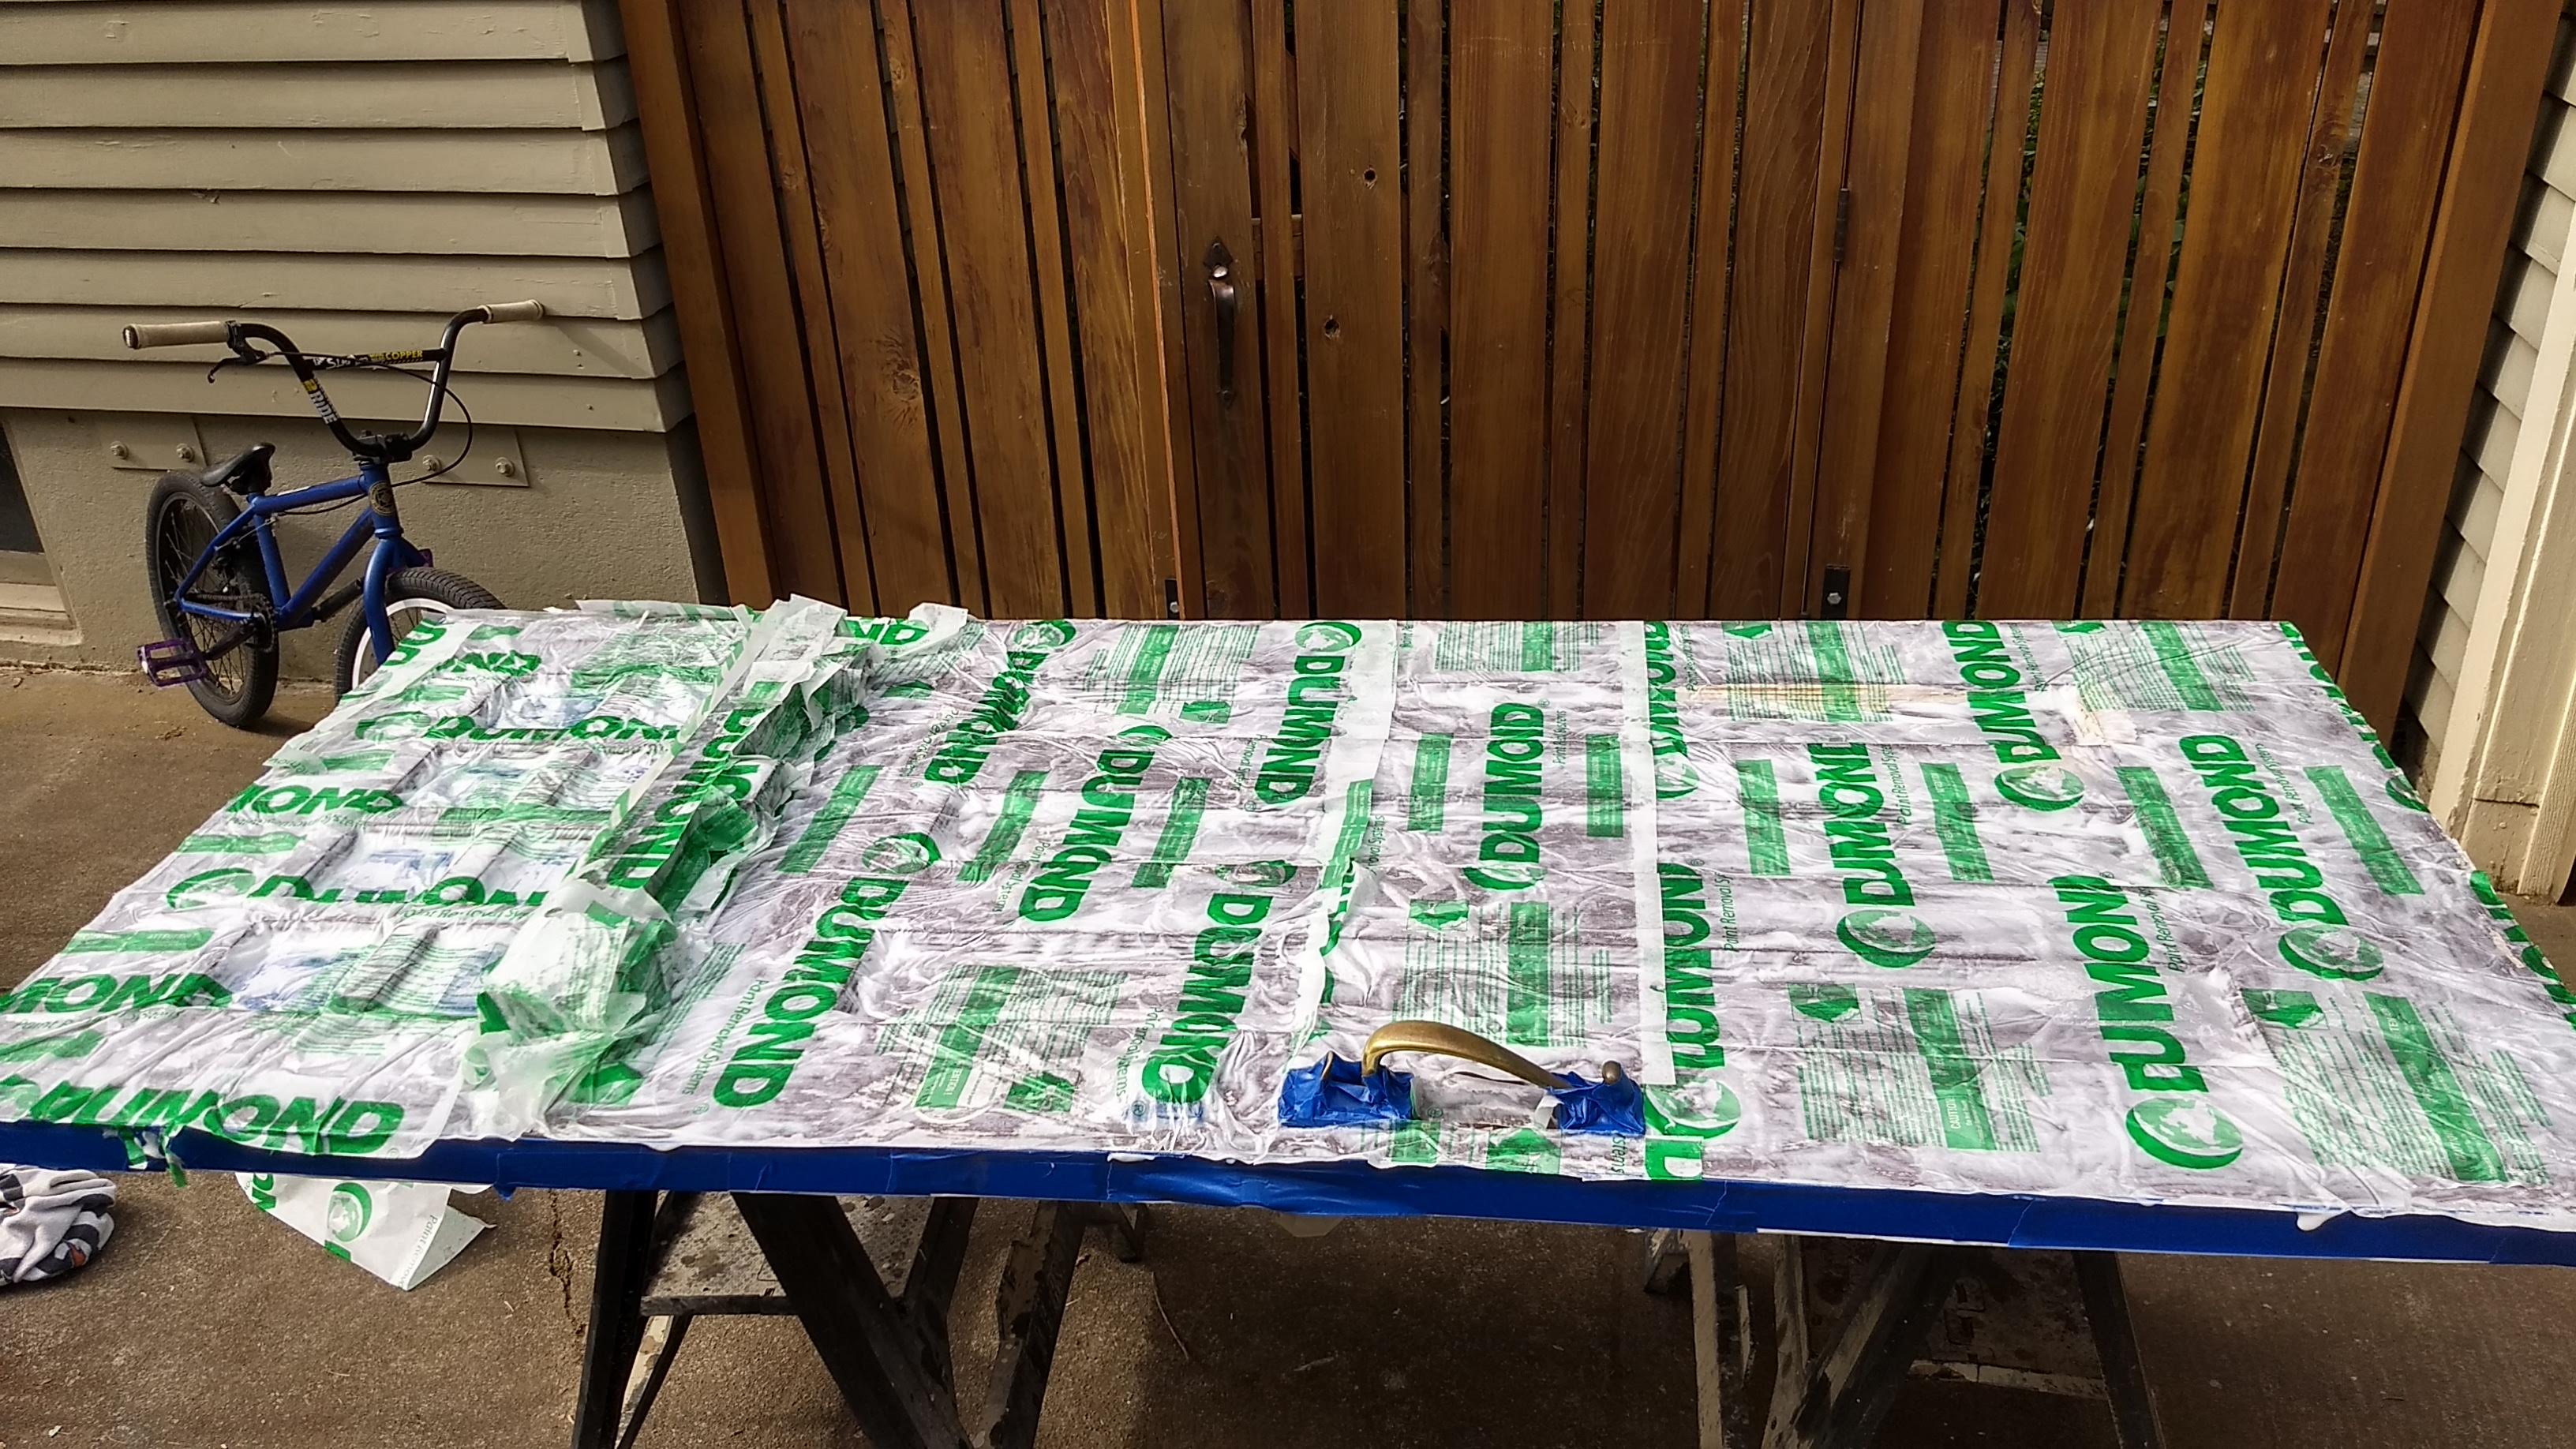
I think that I did the Smart Strip cylce at least three times: paint it on, cover it, wait, scrape with a plastic scraper and a bit with a metal paint scraper, brush with a plastic brush, then wash with water. Each time I did it, I focused more on the problema aeas. I finally figured out that in order to get the paint off of the trim that lines the tiny windows of the door and the relief areas of the door, I needed to pry them out and work on them separately with a stripper and a brush.

Once I was down to bare wood, I could still see there was white paint that tainted the appearance of the wood. So I put on my respirator and hand sanded the wood. I did this repeatedly and thought it was looking pretty good. Then I asked my 11 year old what he thought, and he said, "you can still see paint, Dad." More sanding ensued.


The door had various gaps in places where different pieces of wood intersect. Perhaps the original glue had come out. After sanding the trim pieces, they didn't fit back into the door seamlessly. There were some gaps where they came together with each other. So I used black epoxy wood filler. I like the look of this on reclaimed fir. That's what I used on my kitchen table. It goes with the black that bleeds from old nails.


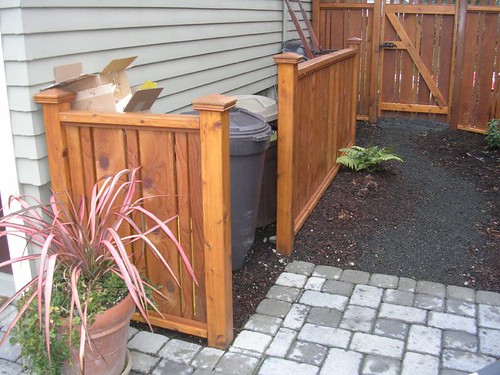
To finish the door I used Benite wood conditioner and then a couple coats of PPG Proluxe Door and Window Finish Clear Satin. This type of Cetol product worked great on my fence and looked great on the door.


The door turned out great. It definitely has a restored sort of look to it with imperfections visible. But it is a really stunning touch on the house. The first pic makes it look darker. That might be because it was taken right after the project was done. The lower pic is three years later. 


Tuesday, December 12, 2023

Craftsman style cedar fence update


The craftsmen style cedar fence is now about 16 years old. By about year 10, it started having some issues that needed attention. These could have been handled by better design at the beginning so see below for some remdedies.

The first major problem was the posts rotting out where they touched soil. Perhaps this could have been mitigated by having the concrete anchor rise up higher to keep soil away from the posts. The way that I chose to remedy the problem was to dig out the concrete post bases and put in steel brackets anchored in concrete, leaving a couple inches of clearance between the base of the post and ground. This was very labor intensive, as it required removing the previous blob of concrete that anchored the posts, but it was a good way to save the fence itself, which remains in good condition.


I used post bases produced by Campbell Fencing in Portland, Oregon. They sell these through Mr. Plywood in Portland but I'm not sure if they are available anywhere else. Basically, they are 34" and half of the length goes in the ground and into the concrete anchor and the other half is above ground. After digging out the globs of concrete I'd poured 15 years ago, I used concrete tubes to keep things a bit neater.


Simpson makes a similar post base as well, though they don't recommend it for fences and it is only about 17 inces long. They also have these EZ-post bases that are meant to be screwed into to concrete from the sides.

The other problem with the fence was some rot on the horizontal 2X4s. I think this was due to sitting water between the trim strips that are nailed into those 2X4s. I replaced the 2X4s and put them in at a bit of an angle so that the water would tend to flow off them. I also replaced the trim strips and used a paint mixer to leave a 1/16" gap between the 2X4 and the trim strip so the water could flow out.


Furthermore I cleaned off the mildew on the fence with water, bleach and a scrub brush and repainted it. I used this PPG ProLuxe Cetol SRD Exterior Wood Finish product in Natural 078, which used to be called Sikkens Cetol. I found that this held up amazingly well over the years so I was glad to use the decendent of that original product that I put on the fence and didn't touch for basically 15 years. In the case of the replacement pieces on the fence, I painted them with this finish (including ends) before putting them on.

Assembling and reassembling parts of the fence wasn't fun, but at least I had a nail gun this time around.


Sunday, February 24, 2008

prepping a basement for paint

So one of the reasons that I started this blog was to share sometimes hard-to-find information on doing home improvement projects. Strangely, I found it pretty hard to find information on how to prepare concrete basement walls for paint.

The project at hand is to paint the concrete walls of the basement of our 1924 home. In the past there has been a fair amount of water seeping through one of the walls. After improving drainage on the exterior of the home, we think we have the leakage problem solved.


But there is still a lot of peeled paint and efflorescence on our East facing wall. The rest of the basement walls have paint that has held up pretty well and I imagine that we'll be able to paint over that. But we need to somehow prepare the flaky surfaces for primer/paint.

This article from the New York Times seems to outline the necessary steps pretty well. I also found some good tips in this book, "House Painting, Inside and Out."

Based on these sources, here's what I'm planning on doing:
  • use Peel Away paint stripper to remove all old paint around the flaky areas; this paint remover is supposed to be especially useful for safely removing lead paint, which we might have in the basement
  • brush off excess concrete
  • treat concrete with muriatic acid (etching)
  • prime/seal it
  • paint it

Monday, February 18, 2008

demolition days

As we've been clearing out our basement and doing some demolition of our own, our neighbors across the street are having their house "deconstructed" by the Rebuilding Center. Good entertainment for the neighbors, if nothing else.

At this point, the chimney stack and the stairway are about all that's left of the first floor.

Tuesday, January 1, 2008

Craftsman Style Cedar Fence


I copied this craftsman style cedar fence from one similar to it in my neighborhood. I created four sections of it: two six foot high sections that serve to enclose our backyard and two three and a half foot sections to visually block a trash area. Photos in various sizes are available on Flickr.

The fence is composed of:
  • 4X4 cedar posts
  • 1X cedar boards for the vertical slats
  • 2X4 cedar for the three horizontal pieces
  • 3/4"x3/4" trim pieces to attach the slats to the 2X4s on either side
There is a basic pattern for the main fence sections and a separate pattern for the gate.

The first step to making this fence is putting in posts:


I used a technique for setting the posts that I found on the Prowell Woodworks website. Basicallly, you set the post bottom on a few inches of gravel and use pea gravel around the post for the first two-thirds of the hole. This makes it much easier to plumb the post (instead of using stakes). The posts that are meant to hold up the gate are set in full concrete.

I set the posts with plenty of extra length on top so that I could cut it off as needed. I think that I used 10 foot posts for the short posts and 12 foot for the long posts, putting them about 3ft in the ground.

In compliance with local regulations, the fence is exactly 6' tall, with the gap in the top section about 1', and the remainder of the height in the bottom section. The arbor and the post caps poke up above 6'.

The main fence panels are created by cutting and attaching 2X4s to the posts. I used stainless steel screws for this to prevent bleeding when the cedar got wet.


I made the top two horizontal pieces level and let the bottom one follow the contour of the ground, with an inch and a half or so of clearance.

To put in the panels, I measured and cut one side (top and bottom) of the 3/4" trim piece and finish nailed it to the 2X4s with stainless steel nails. Then it was time to install the vertical slats. The slats had to be ripped, and then cross cut to size, one by one, and this was time consuming. They were then nailed diagonally into the trim piece and down into the 2X4 below or above.


The basic pattern of the slats was one 1X6, a 1/2" space, and a 1 7/8" slat (the approximate width of a 1X6 ripped into 3 pieces), then a 1/2 inch space. Before starting a small section, I planned on starting and ending on a wide piece and figured how much I needed to cut off the first and last piece (waiting to cut the last piece until I got there).


The top section was assembled just like the bottom one. The slats are all the same width as the narrow ones on the bottom and go directly above the narrow ones on the bottom and centered above the wide slats on the bottom.


When it came to the gate, that's when things got interesting. It took me quite awhile to figure out how the gate was done on the other fence in the neighborhood that I copied. The gate is framed on three sides (top, left and right) with 2X4 ripped so that it is just 21/2"wide instead of 31/2" wide. This is thick enough to hold 2X4 cross pieces plus the slats so they are flush. The top horizontal piece is the full width of the gate, the verticals are attached to it with stainless steel screws set from the top.


The first step in gate assembly was to create that frame. Then I installed the 2X4 support pieces by screwing them in from the sides. Then it was time to flip it over and nail the slats in the bottom section onto the 2X4s with wide head, flat nails. The top gate section is assembled like the main sections, but using mini, 1/2" wide trim pieces.

Regarding gate width: one of my gate openings was 31/2', the other 3'. I recommend leaving about 1/4" gap on either side of the gate (so make the gate 1/2" shorter than gap). Initially, I only left 1/8" on either side and there was enough sag that the gate wouldn't close. I used fairly standard steel hinges pre-painted black. These were hard to find for some reason--I had to go to a hardware store geared towards contractors. I actually mortised out the hinges with a router so that I could make the gap a little wider. This seemed like overkill, but it made the gate easier to install.


The arbors were a nice touch. They helped stabilize the gate and make for a nice gateway. I made one arbor that encompassed just the fence itself and another that used two additional support posts. I used 2X10s for the wide pieces and 2X4s on top. I sawed the ends of the top cross pieces at about a 5 degree angle or so so that they are slightly longer on top. I assembled everything with screws.


The fence sections around the garbage cans just eliminated the top section and were cut to be about 3 1/2' high.


To preserve the rich color of the cedar, I sanded the smooth surfaces of the fence, brushed the rough surfaces (one side of the slats), and applied 3 coats of Sikkens Cetol 1 in the natural color. The color is a little on the orange side, but looks like wet cedar. I might try natural light if I had to do it again. Painting the fence is a pain in the rear, but it does look sharp afterwards.